Playing the Western Roman Empire (hereafter WRE) in Total War: Attila can be a pretty tough assignment, and, some would say, nigh impossible. For the most part, everyone is out to get you and they will combine forces to take you down on many fronts. The opponents you will face initially, however, are as nothing compared to what the Huns bring later in the game. So, the one thing you need to bear in mind is that you have until around AD 420 to get your house in order before Attila descends on Europe. This is, in fact, plenty of time. The following strategy guide offers some important tips on how to survive and, indeed, prosper as the Western Empire. For fuller, general coverage, including a greater number of screenshots, see my review of the game.

Keep the flag flying
The first thing to do is study your empire in some detail. Take a good half hour to go through all your cities and regions and check out the position of your armies and the state of your economy. The WRE begins with 68 regions, many of which are already in a state of rapidly declining order and on the brink of disease, but they also present huge possibilities with regard to economic development.
Initially you need to focus on improving the amount of gold you earn per turn, otherwise, it will soon become impossible to fund armies and pay for vital city improvements. One slightly radical way to do this is to destroy every single religious building in your empire in your first turn, except for the one in Rome itself which is already capable of building priests. This may sound counter-intuitive, but religious buildings cost money to maintain and are not really worth the investment – certainly not in the early stages of the game. The maximum religious penalty in regions in which the dominant religion is not strong – in this case, Latin Christianity – was recently increased to -6 per province, which is wearable, especially as it will take some time for Latin Christianity to decline significantly enough in those regions to give you a real headache. You can far more easily suppress disorder through classical architecture – amphitheatres, theatres etc, which cost food to maintain, not money, and provide far larger bonuses to civil order than religious buildings. In the early game, food is much easier to come by while fertility is high and is the better option as a currency through which to maintain order.

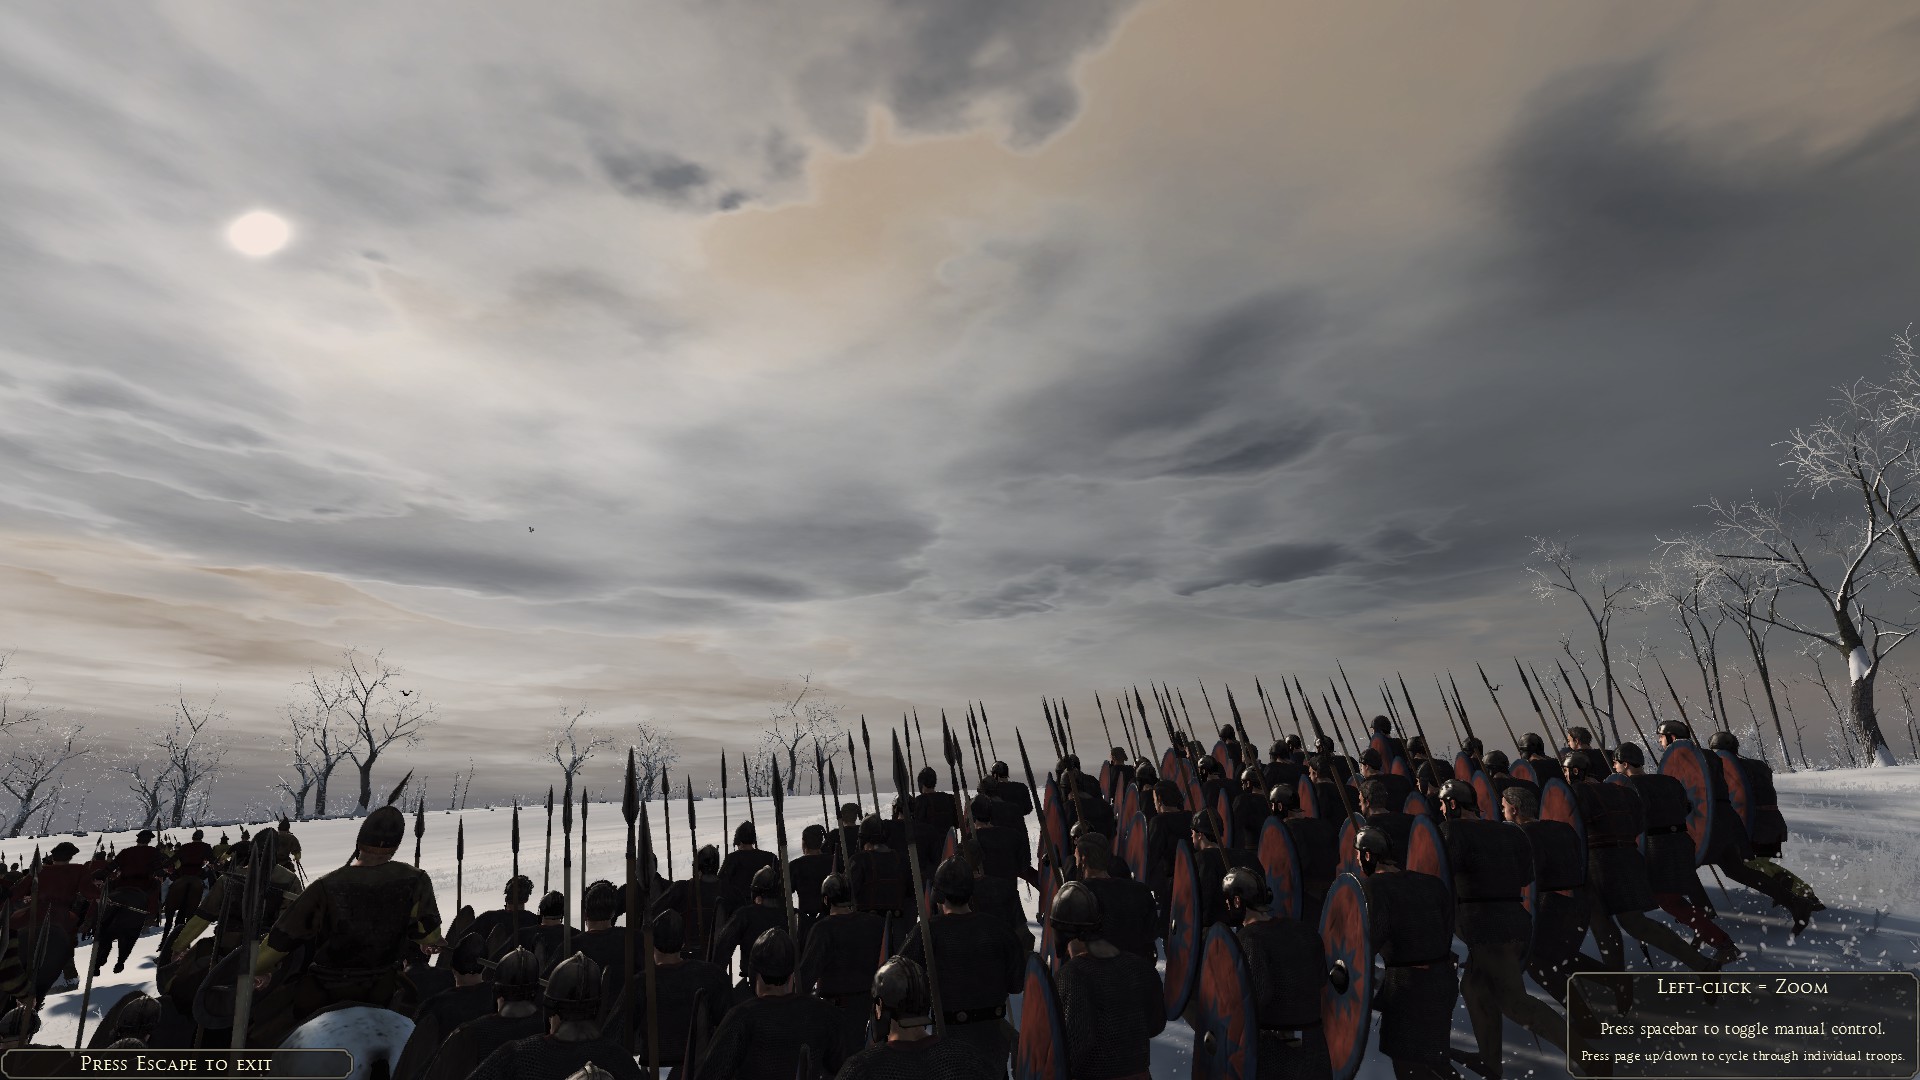
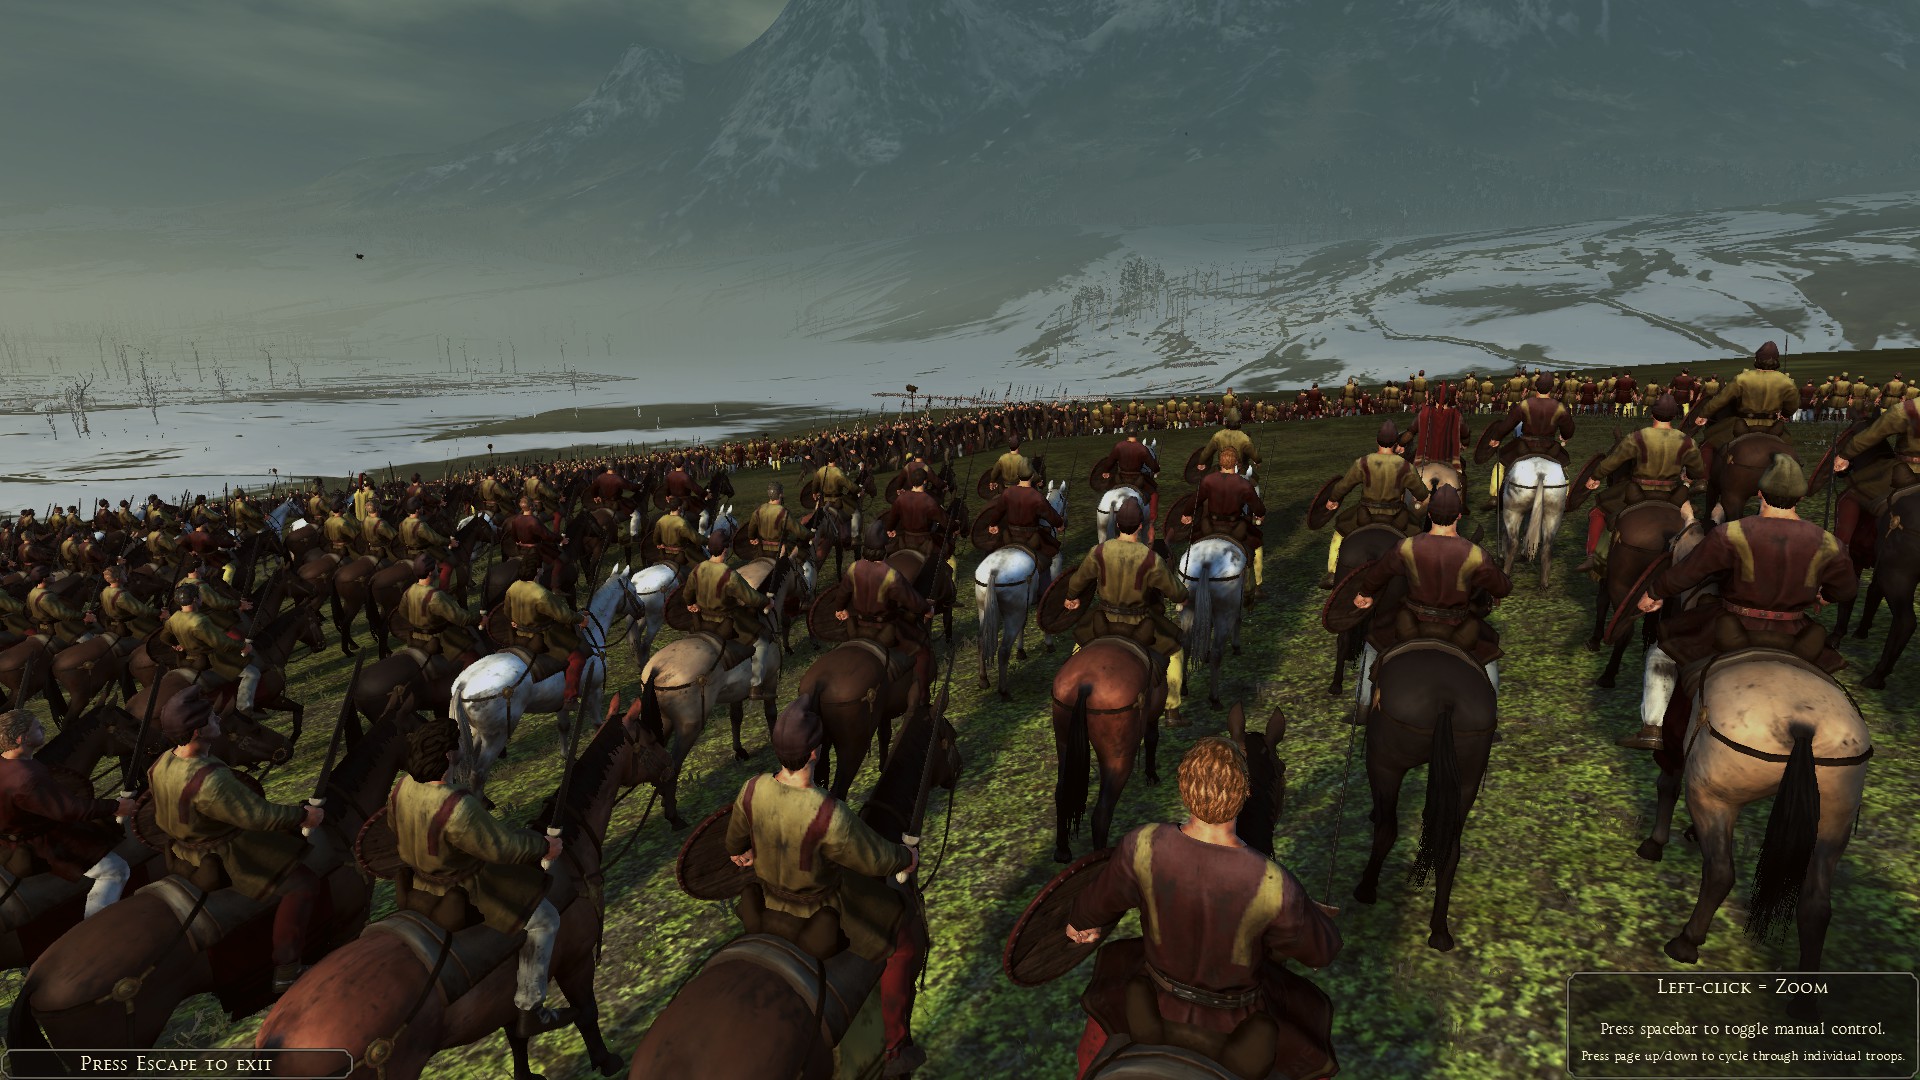
Roman army in the snow
Demolishing the churches will not only hugely increase money immediately – as demolition puts the value of the buildings in money into your coffers, but it also removes significant maintenance costs for the buildings. This money could be far better spent maintaining aqueducts and paying for other vital improvements. If you don’t like the idea of demolishing churches, bear in mind that you can always increase your religious output and shift your city-development focus later in the game, but initially it is not a good investment and will hinder more than help.
While on the subject of religion, my very strongest piece of advice when playing the WRE is DO NOT, repeat, DO NOT research ANY of the religious techs. These cause you to forget earlier techs and thus lock out the construction of key infrastructure which is far more valuable, especially where sanitation is concerned. Instead of being able to build amphitheatres and aqueducts, you will have to rely on expensive-to-maintain churches, which provide less happiness and nowhere near enough sanitation. Another problem with the religious sanitation buildings that can be constructed in the capital cities is that their effects are local only, and not shared with the other regions of the province, unlike the aqueducts. Again, this might sound like a radical suggestion, but you can skip these techs altogether and it will not hamper your game, indeed, quite the opposite.

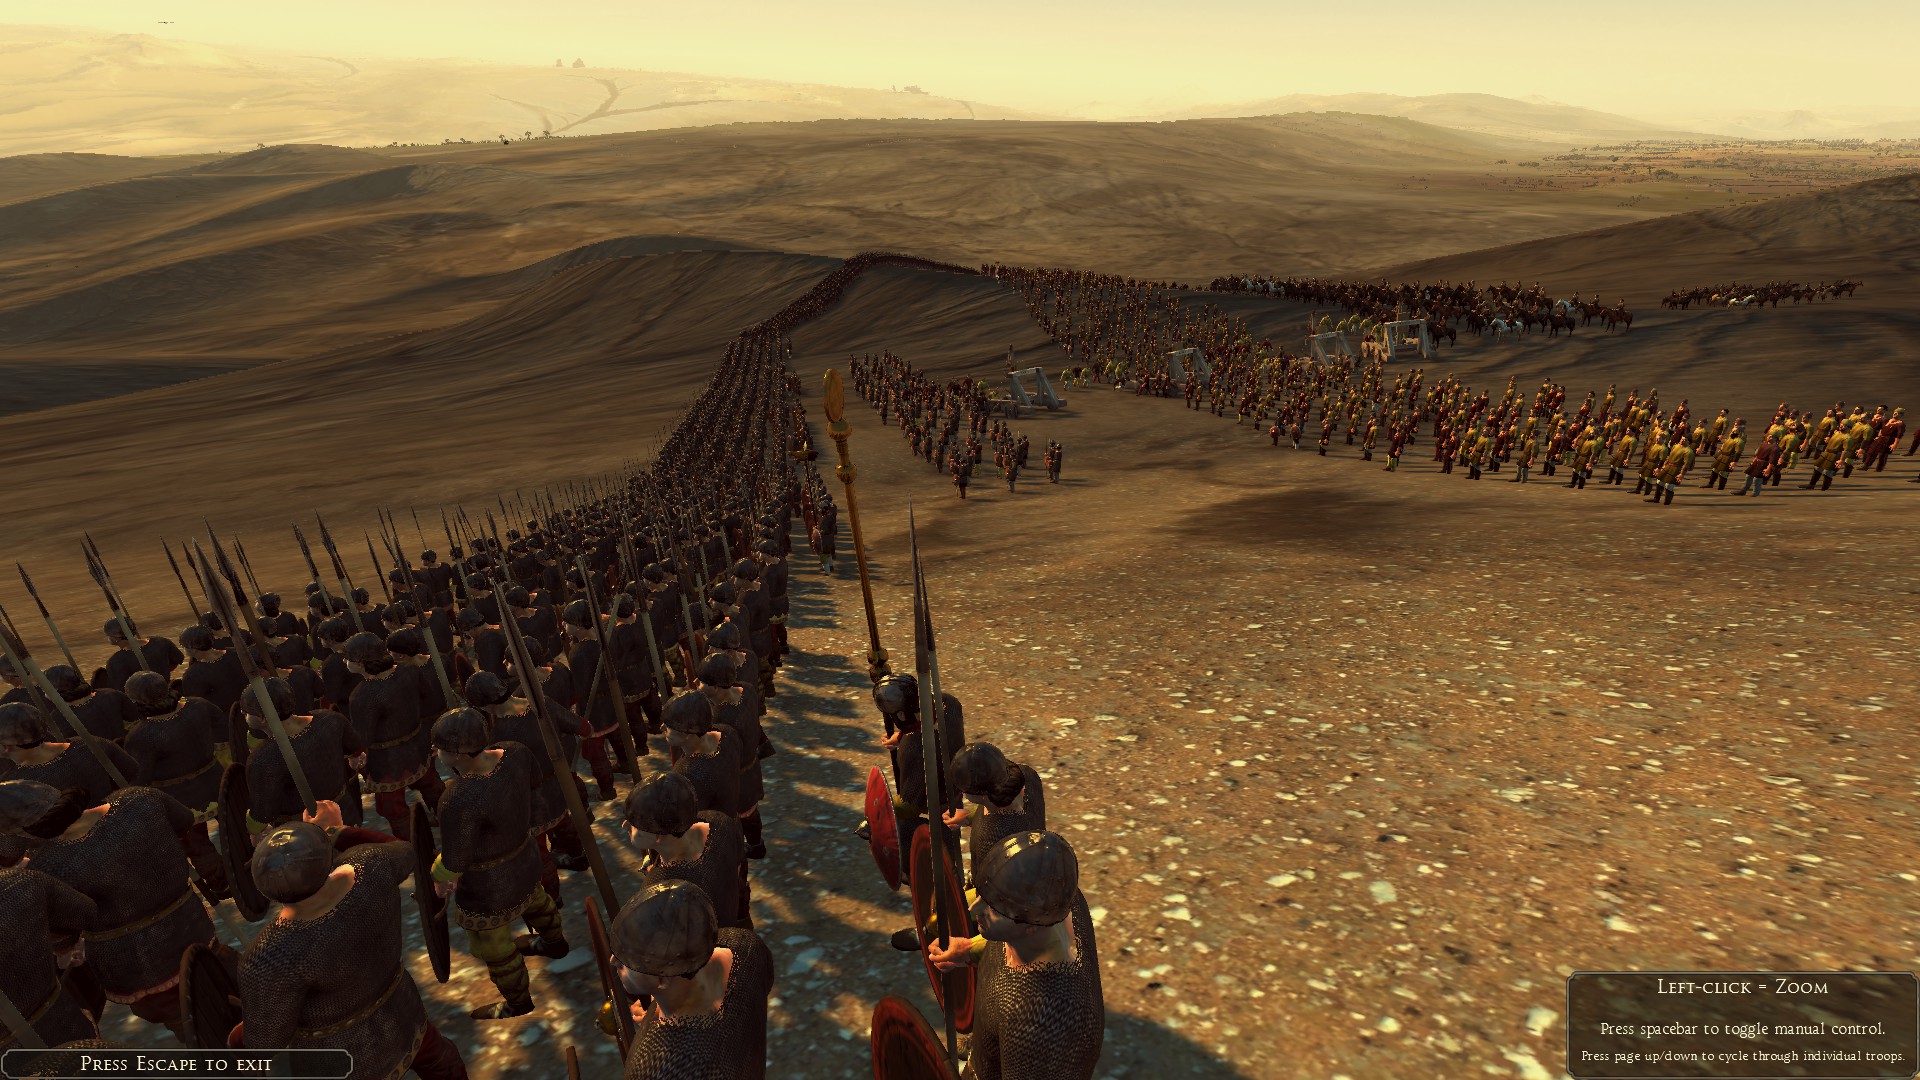
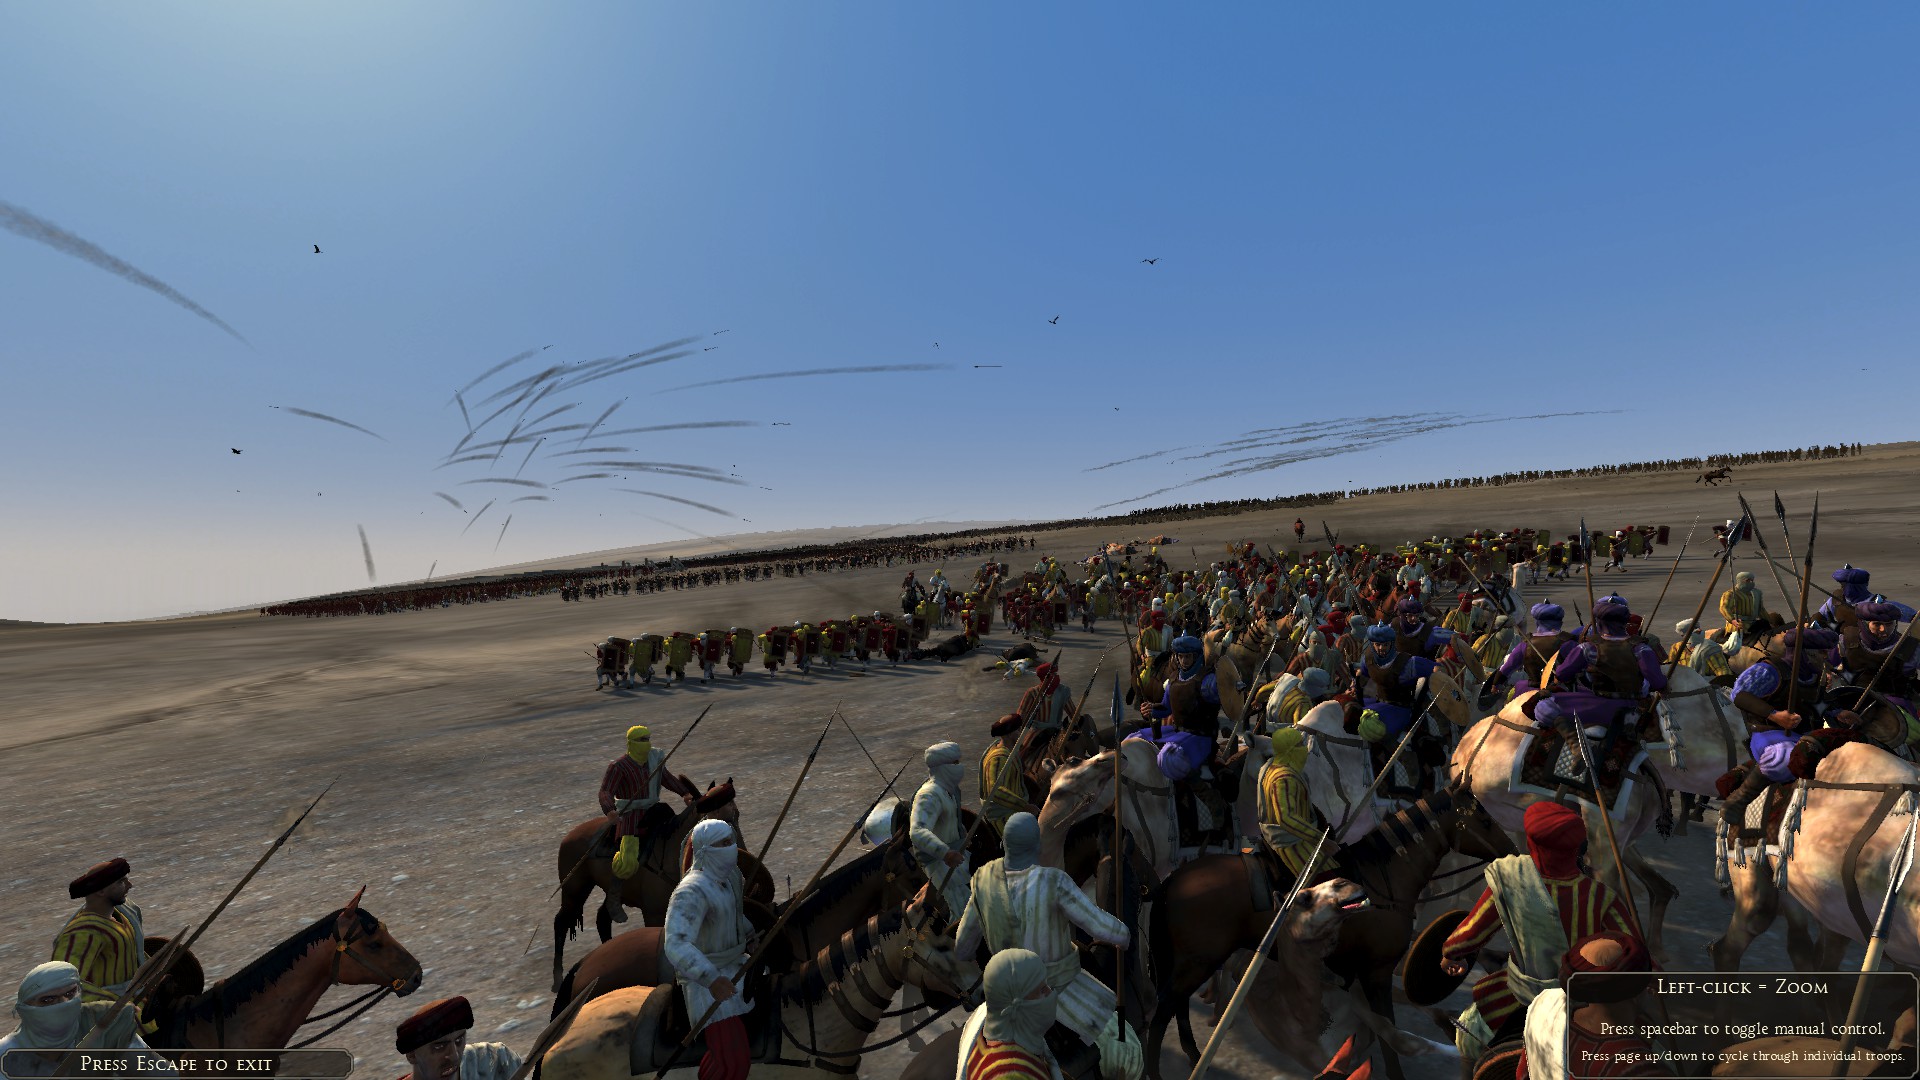
A long front line – spearmen in the desert
The first time I played the WRE I practically crippled myself by losing the ability to build aqueducts and tier three or four entertainment buildings. On the second run, things went much more smoothly, largely because I still had access to these techs and could build, for example, aqueduct networks will give +16 sanitation and +4 happiness to all regions in a province, but cost only 200 to maintain. On the happiness score, for 100 food, the top tier theatres and circuses are manageable provided you structure the region’s agricultural output to cater for this, offering between + 13 and +17 bonus to happiness. But the top tier religious building in a regional capital – the Patriarchal See, costs 3000 per turn to maintain.

Overpriced and best demolished…

A far cheaper way to improve sanitation, not something you can afford to do without

3000 per turn? Ludicrous
That is not just an outrageous price, it is a total rip-off considering they offer fewer bonuses. Not researching religious techs only means you can’t research more religious texts, and does not interfere with any other lines of research. Plus, you can always go back and research these techs at any stage in the game if you change your mind, though I can’t imagine why anyone would bother. It is, purely and simply, much easier to play without them altogether.
As might be gleaned from the above, Sanitation is a key focus early on in the game. This should be your first priority when it comes to construction. You need to build as many waterworks as possible in your capital cities until every province has healthy sanitation levels. If necessary, break down any military buildings in capitals that lack waterworks – in the early stages, your basic troops types will be sufficient against mostly tier 1 enemies, and you can find enough cheap to maintain barbarian archers, slingers and cavalry to supplement the testudo-capable spearmen, which are the bedrock of the Roman army. The one thing you really might need to build early on is a carpenter in one of your capitals. This will allow you to build onagers, and personally, I think every army should have at least one, as it allows for an immediate assault on a walled city and can be used to destroy forts when an enemy has bunkered down.

None shall pass
Sanitation issues will kill you early on because disease causes a huge loss of income and punishing happiness penalties, which become cumulatively worse as other cities in the region succumb; disease spreads from city to city and can also be carried by armies. If it gets into your troops, they will suffer attrition for a random number of turns, which can seriously weaken your forces and make them incapable of garrisoning without spreading the disease further. If disease gets out of hand, it can cripple your economy and will hamper your ability to solve the problems, thus creating a vicious circle. It is generally easier to build the major sanitation buildings in your capitals and not worry about fountains and bathhouses in the other towns – these are only really useful where you do not control the capital and, anyway, you will want those slots in the minor towns for food and the like.

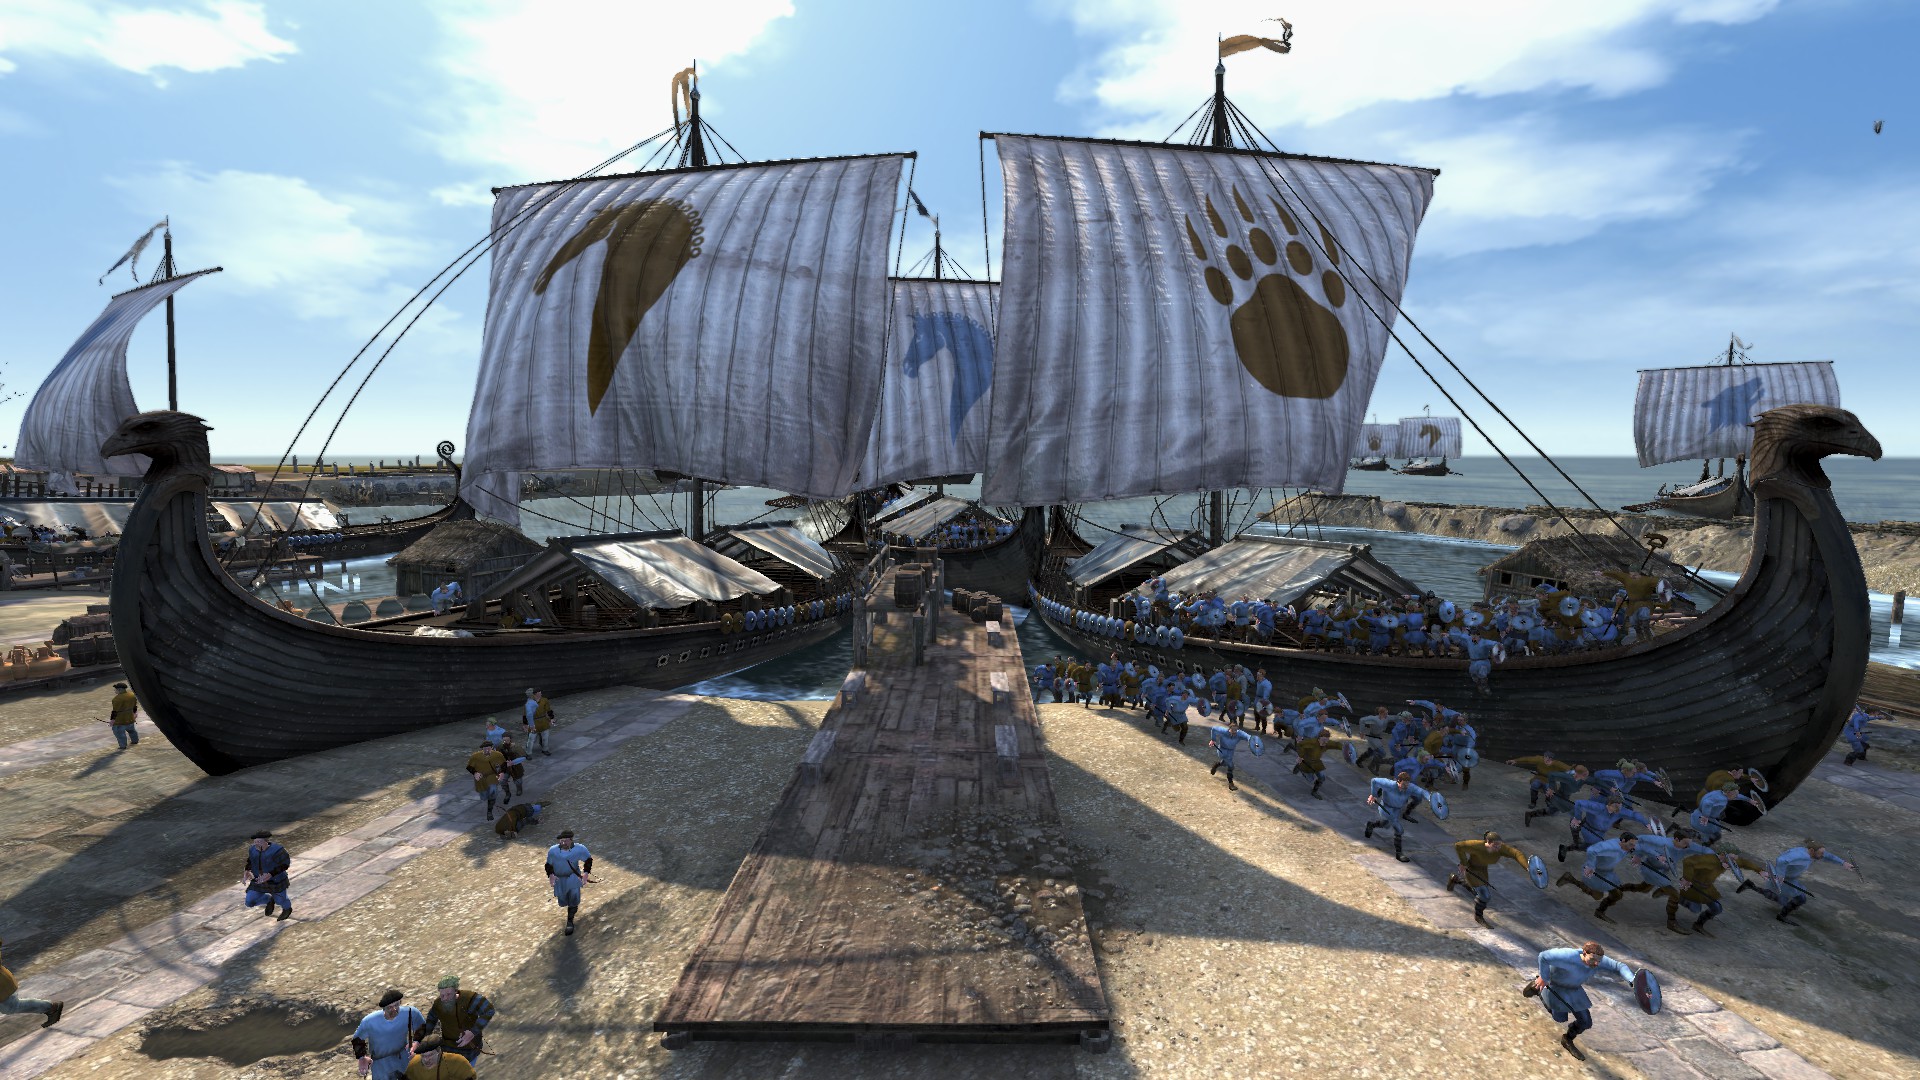
Coastal raid
It is worth mentioning that however hard you try, you will suffer a lot of disease early on. This is because it springs up surprisingly often and then it spreads along roads and trade-routes from city to city, so it gets around. Don’t be lulled into thinking a 1% chance of disease outbreak means it will not happen. This game seems to make the unluckiest of dice-rolls and those percentages are at best misleading and at worst, completely fictional. Inevitably, you won’t be able to build sanitation buildings quickly enough, so start with your richest provinces to ensure they are safe and sound first. They still might get disease even then, as seasonal penalties such as “Bad Winter” results in +5 squalor, which seems to make cities unreasonably vulnerable to outbreaks. Once you have your sanitation in place, the disease will gradually disappear from your empire except for occasional outbreaks. This will make maintaining happiness and income far easier going forward. Just make sure you pay attention to sanitation levels in each region when building improvements, as you will also need to upgrade your sanitation accordingly.
On the economic front, I would recommend focussing as much as possible on generating money. Thus, you should initially favour economic techs over military. In fact, over the first few turns, it’s a good idea to alternate between the military and economic techs, until the first tiers of each tree is fleshed out. This will both improve your income and also improve the standard of your baseline troops – allowing upgrades of the Limitanei Border Guards to Comitatensis Spears, which will be your key frontline unit throughout most of the game, as well as reducing their maintenance costs.

Defensive formations are key, especially against cavalry armies. Save your cavalry for flanking attacks and mopping up. Charge, retreat, rinse, repeat
Initially you can probably ignore the siege-related technologies, and, on the economic side, those relating to religion as noted above. After sharing between military and economic techs in the first tier of the technologies, you should primarily focus on economic techs for a good while. The reason is that your unit types will be sufficiently advanced to withstand your enemies for a good twenty-odd years, and later you can begin to research high-level military techs. Roman cavalry is generally not great, and I tend to rely primarily on barbarian mercenaries anyway, so you can ignore developing this line until much later. The key areas of focus really should be – Military techs which improve the baseline infantry troops and reduce maintenance costs, and economic techs which improve tax rate and income from buildings, primarily focussing on animal husbandry.
On the subject of food, it is vital that you don’t neglect to sustain a surplus across your empire. If your total production is negative across all provinces, your armies will all suffer attrition and will not replenish. Also, for each province that is short of food individually, there is a -25% penalty to income, which is hugely significant. It’s a good idea to really stay on top of your food situation. This won’t always be easy, but it’s a key strategic consideration.

Agriculture
When it comes to food, the Romans are a little hard done by compared to others. Initially, many of your provinces will have wheat farms, as wheat produces by far the most food – when you have a fertility bonus to a region. However, the baseline food production of wheat is the lowest. Cattle Herds and Sheep Pens, on the other hand, produce more baseline food than wheat, but less bonus food, though they also produce more income. What you have to consider is that in AD 400, about twenty turns into the game, the first hit of climate change will happen, reducing each province’s fertility by 1. This means that while, initially, wheat farms will produce a lot of food, their output will gradually decrease and you will eventually have to switch them for cattle and sheep. It might be better to focus on cattle and sheep from the start, because these should still provide enough food for you, but also they produce more much needed income. Once a region reaches zero fertility, you can convert all the wheat to cattle, etc, which will ultimately be less food than when fertility was high, but will likely get you over the line so far as feeding the region is concerned. Food markets in the capital, fishing ports and special resources can supplement food hugely, so bear them in mind. Always bear in mind the food costs of any building you construct in your provincial capitals and, as with sanitation, plan accordingly to get the balance right.

Worth defending

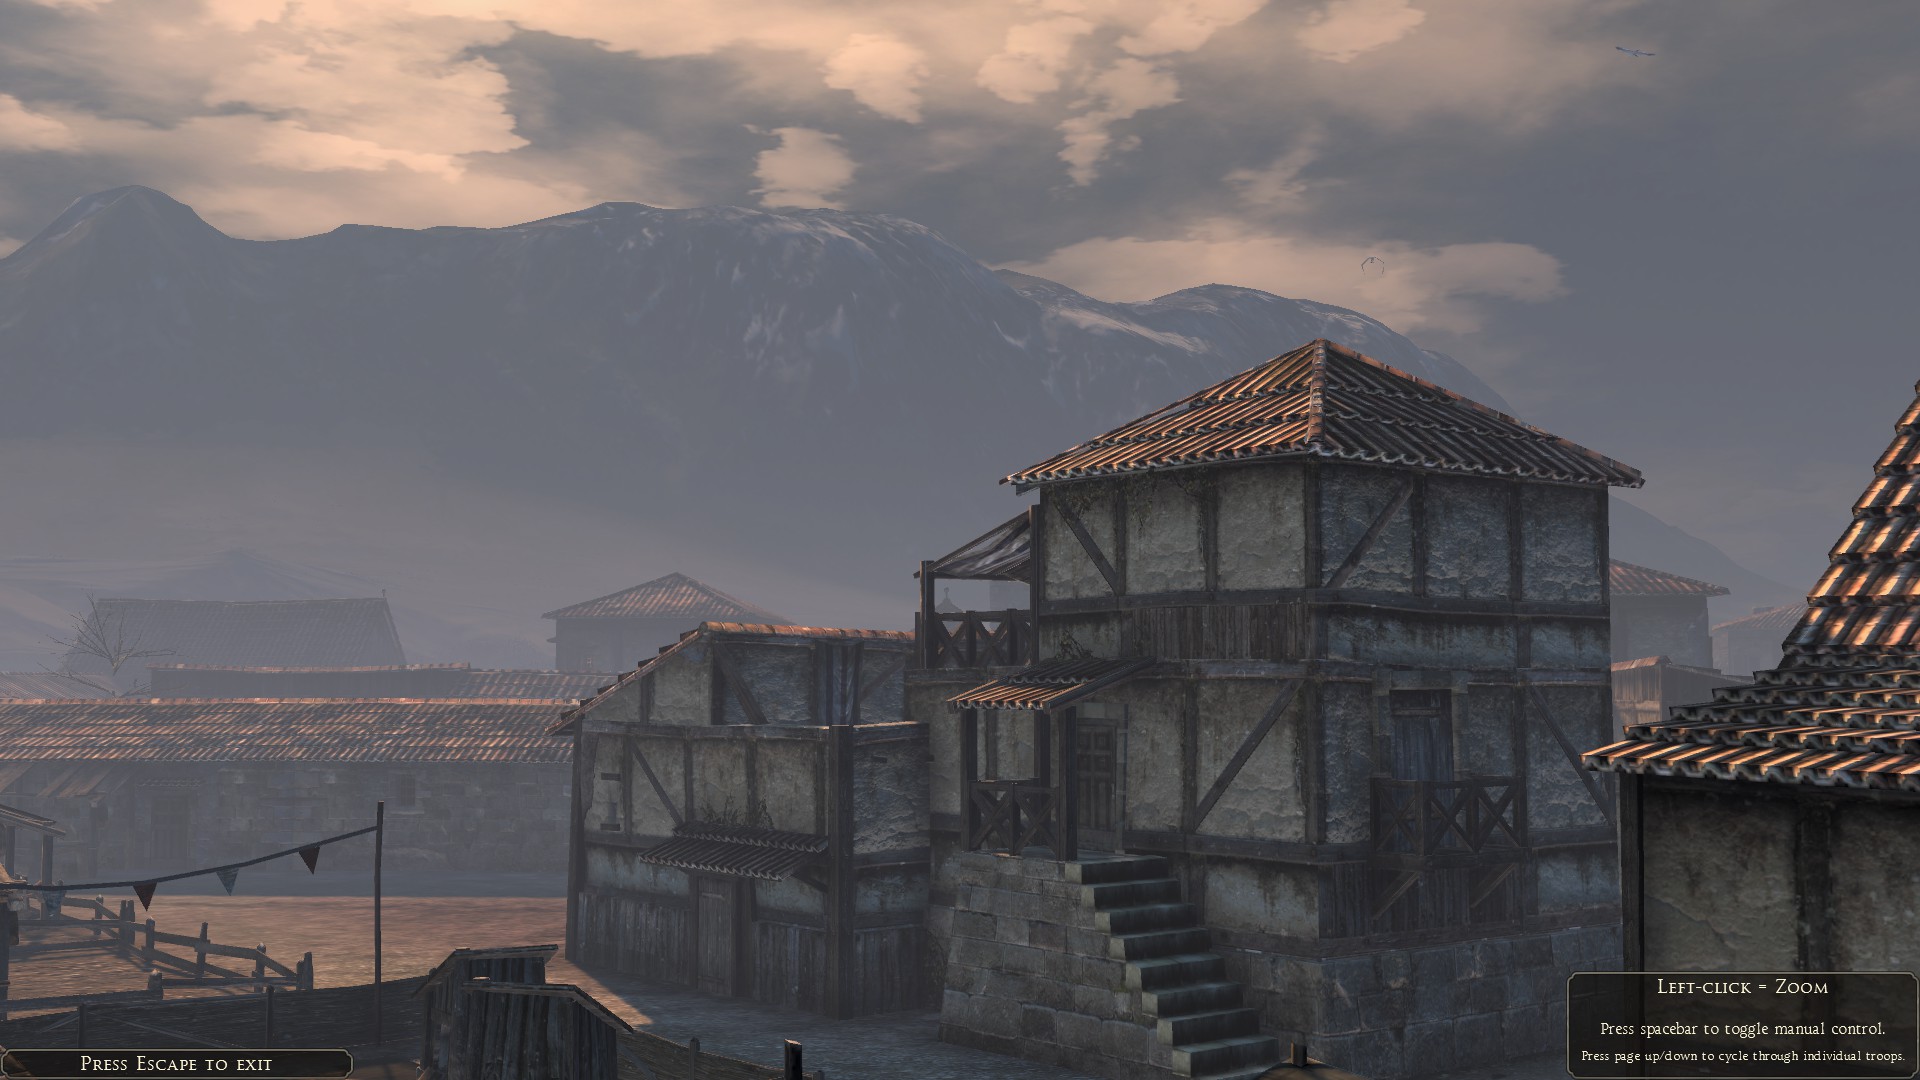
Winter in a Roman town
It is also vital to plan how much food you will need going forward, in order that building food-taxing improvements doesn’t suddenly leave your people starving. So, do the maths and plan well. In some provinces you will not be able to maintain a surplus, and it is often a good idea to dedicate one whole province to military improvements, for example, and rely on the overall surplus of food across the board. If, as I would recommend, you ultimately rely on animal husbandry buildings, then it is wise to pair these with tanners and leather-workers in the local industry building tree. These not only produce significant income themselves, but also add an incremental percentage increase to the wealth generated by the cattle, sheep and horse farms.
Another good way to make money early on is to build trade wharfs in every coastal city in which the region can maintain a food surplus without fishing. Trade wharfs are the lowest hanging fruit so far as income is concerned – the tier 2 building produces 900 gold per turn, and they also provide naval garrisons, as do all port-related improvements.

Trade Ports are a great way to increase income

Coastal defence against barbarian raid
In all three run-throughs as the WRE, I’ve neglected building industrial improvements in the early game, beyond any of the special resource related improvements, such as gold-mines, marble quarries, lead, iron and the like. This is largely because I prefer to prioritise food, sanitation and happiness improvements first, including garrison encampments, and there is rarely enough space to accommodate any industrial buildings. In an ideal world, industrial development could begin earlier, but being on top of the other areas is more important early on and enough money can be made from food, trade and specialist markets such as wine markets. In the later game, I tend to invest a lot more in industrial buildings.
As to military buildings for constructing more advanced units, again it might seem counter-intuitive to say so, but I rarely build them at all. Indeed, it is possible to dedicate a single region to military buildings for constructing different unit types, and have your armies fan out from there. This is not exactly practical, but in truth the armies already stationed in provinces can definitely make do in the early game with the baseline spear units and barbarian archers and cavalry. I’m a big fan of cavalry and like to have a minimum of four units in each army, which I do my best to keep in reserve until the enemy are engaged along the front line, then use them to flank and charge the rear of enemy infantry, or smash through a bunch of missile units, once they are no longer protected by infantry. Cavalry are also vital for mopping up after a battle. Most enemies use their cavalry suicidally, charging them onto turtled-up spearmen. The remnants can be picked off by your own cavalry, without much harm to them.

Mercenary Cavalry, taking fire
It is worth mentioning that when you win a battle, be sure to take the time to wipe out as many routing enemy units as possible. This is not necessary if they have no retreat option, but if they can retreat and you let their routing units get away, it means you will have to fight them again. When the white flag is up they cannot harm your units further, so hit the maximum speed button, switch to the strategy map, and chase down as many as possible. It can get a bit tedious, but this is especially important when your own troop numbers are low. Sometimes, you can destroy the entire enemy force in this manner. Just be careful not to shoot your own troops with archers and artillery, or towers, in the process. It is also a good idea, despite the negative effect on experience, to replenish your own troops at the end of a battle with captured enemies. This is a particularly vital way – indeed, the only way – to replenish when in hostile territory, and becomes especially important when you may need to fight again the following turn.

Very close indeed, thank goodness for that fort…
Moving on to all matters military and strategic, the key thing in defending the WRE is to keep your enemies at the frontier, and limit the number of frontiers you need to defend. Once armies get deep within your empire, it can be difficult to chase them down and this requires moving armies into the interior rather than keeping them at the frontiers where you will need them to keep out the enemies who will pour across the Rhine and Danube.
Your very first move as the WRE should be to take care of the Suebians, who begin inside your borders in Gaul. If you don’t sort them out they will almost certainly attack you within the first few turns, so you might as well confront them on your own terms. You can get three armies there by around the second turn and smash them, wiping them out, at which point you’ll be wanting to hurry those armies back to the frontier.

Boo-yah
The other possibility is to grant them a region in Gaul / Belgica and leave them in peace. This will likely lead to favourable relations within a few turns, as the gift of a region causes a huge diplomatic boost. Within just a few turns you will be able to trade with them and shortly after, form a defensive alliance. Once they become engaged in fighting the same enemies, the diplomacy system will ensure very positive relations henceforth. They could provide a very useful ally to bolster defences along the Rhine.
The same option is available with the Vandals, who will likely appear inside your borders in Pannonia. Pannonia is a difficult place to defend initially and it makes sense to sacrifice one region to a faction who will, as above, likely become a defensive ally and trade partner within a few turns. This is very helpful on the eastern Danube frontier, which is an area I choose to neglect partly, initially. The reason for this is that my principal concern is to stop everyone who threatens to get deeper into the Empire, where they will be harder to stop. If one or two regions on the Danube fall, it’s not the end of the world, and they are still at the frontier. You can always muster more strength later to take them out.

Fighting in light forest
In some cases, the loss of a region can prove surprisingly beneficial. I found it very helpful when the Illyrian faction sprang up in the region of Iuvavum. I swiftly subjugated them and, next to the Vandals, had very helpful and willing allies to manage that frontier while I focussed elsewhere. By no means abandon Pannonia, just play a defensive strategy initially, making sure Sirmium does not fall and switching between the frontier towns to support them defensively. It’s possible, but very difficult to do this with one army, but if you build those towns up and increase their garrisons early, they can usually survive the initial assault. Get them to size 2 as early as possible and put a garrison encampment in them. Managed successfully, they will hold off an army with their garrison until relief arrives, especially if you have a defensive ally / puppet state on the same frontier. When those towns reach size 4 and obtain walls, they will be impregnable, except to the Huns, by which stage you should have more armies in the region.

Gods, help me, I’m surrounded
On the defensive front, you should always avoid auto-resolving defensive battles. The AI is awful at defending towns and if you are at all outnumbered, it will lose the battle for you. It is, however, possible to defend a town against a much larger force, if you defend wisely. This largely depends on the design of the town – some of them are a lot easier to defend, but the basic rule is to hold the centre, keep your units close and block entry to the main capture point. As soon as the enemy general is in range, switch any archers to heavy shot, and, if possible, use their special ability to increase damage. Often, in this way, you can knock off their general early and break morale. Just be careful not to shoot your own defending troops in the back, which can be avoided by ensuring a clear line of sight. The AI is, for the most part, a slogger, and will just drive up against your units. Thus, the comitatenses in defensive testudo formation is the way forward. Often one such unit can hold a narrow passage and see off several entire units.

Artillery, well placed, are devastating against naval units

Sally forth when the time is right
Another key strategic aspect is, inevitably, choosing the right technologies in the right order. After filling out the first two tiers in military and civil developments (avoiding, of course, any religious techs), I prioritise anything that increases income or reduces maintenance costs and then go straight for the techs which allow one to build larger-sized towns. Tier IV towns gain walls and more sturdy towers and are far easier to defend, especially as enemies need to siege or bring siege equipment in order to launch an assault. This not only allows the towns to hold off attacks more easily, but again, it buys time to bring up armies when you are overstretched and can’t garrison every town. Ideally, all your cities along your frontiers should hit tier IV before the Huns really kick off in 420. You needn’t worry so much about the regional capitals, as these already start with walls in place, though by no means neglect them – the Huns always bring artillery.

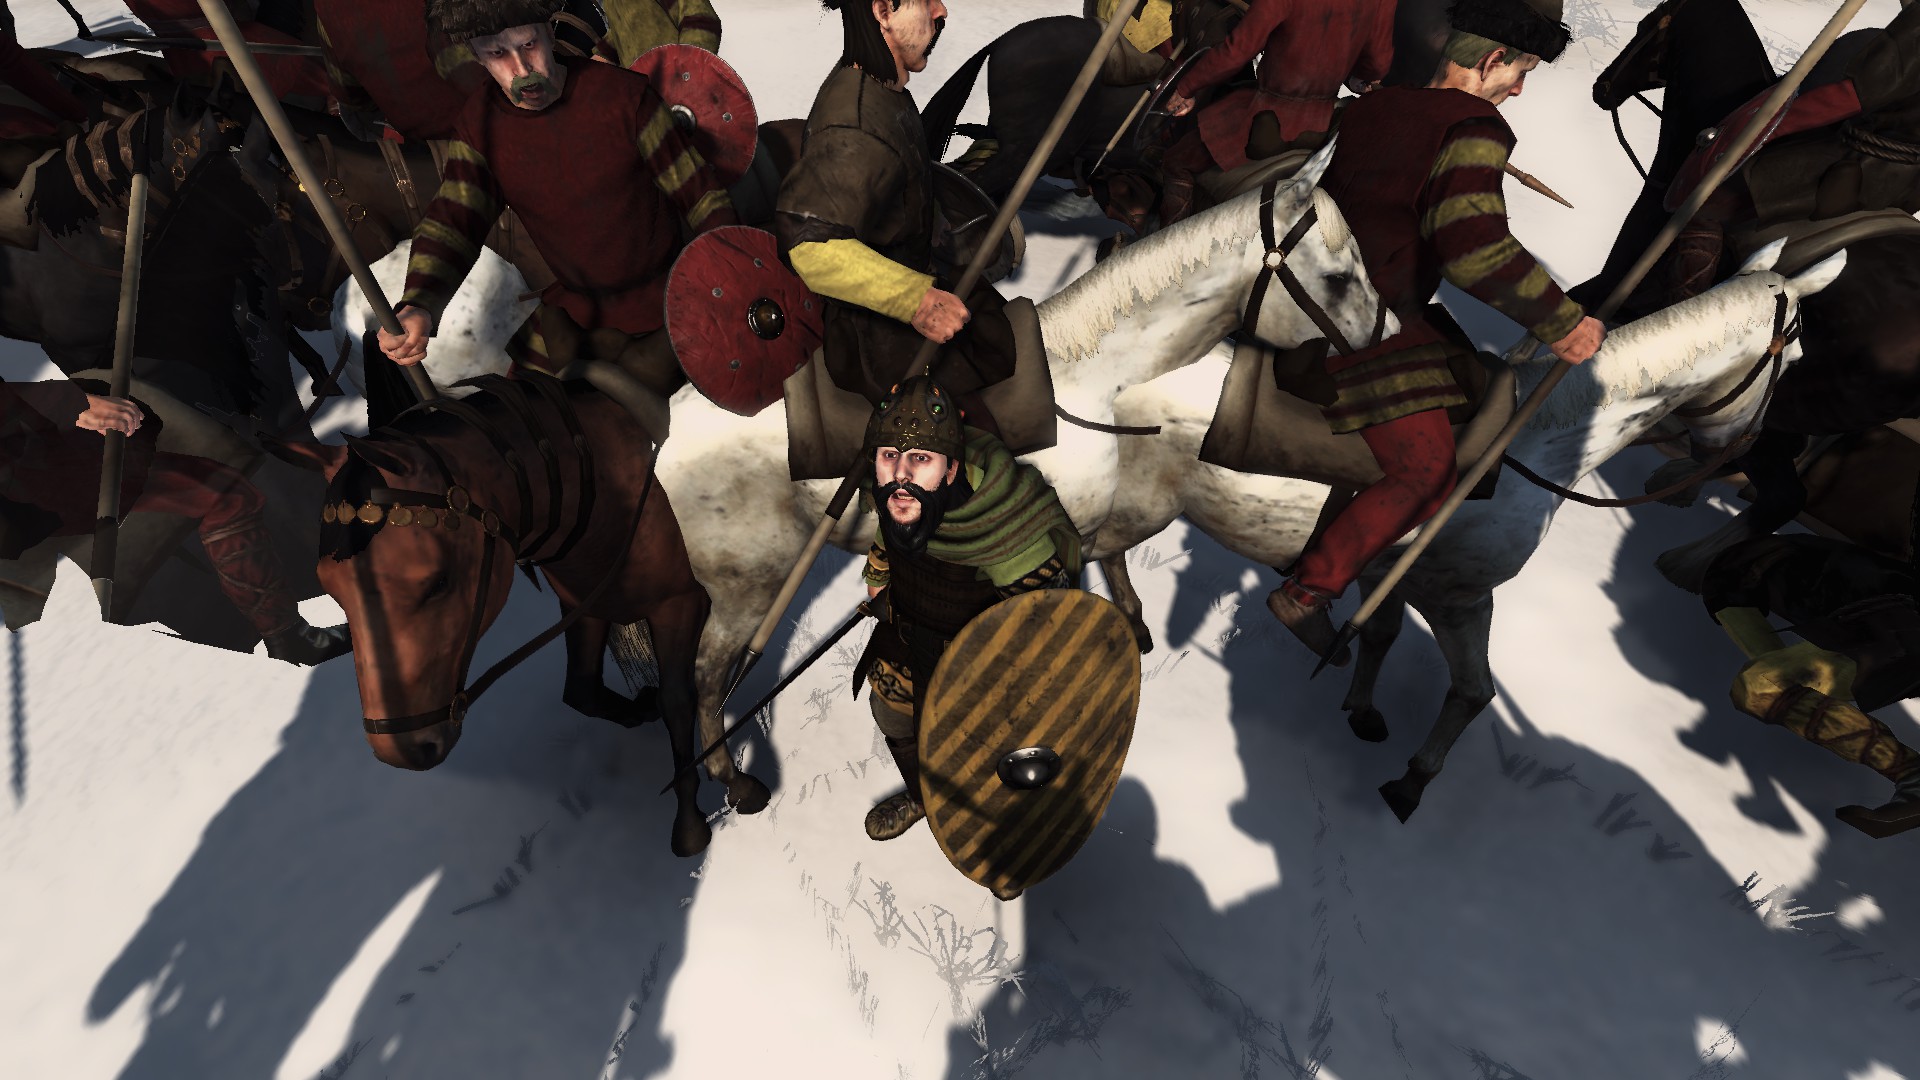
Another winter campaign
Returning to the subject of finding useful defensive allies, one of the key strategies for defending the WRE is to create as many puppet states as possible in the west. This isn’t always easy to do, especially as you can only subjugate enemies who have one single region, and it is not possible to subjugate hordes, unless they settle in a city. Yet, if you are patient, and have armies stationed along the frontiers ready to roll, you can wait for the right opportunity and attack. This is often best done after having been attacked. If the Franks have a shot at you, and you crush them as you should, send an army straight to their capital in Frisia and hit it while they are licking their wounds and desperately trying to rebuild. You can use similar strategies with the Allemans, for example, and potentially the Saxons etc. Once you subjugate an enemy, they instantly make peace with all your allies and declare war on all your enemies, turning your enemy into an instant ally. This is great for a number of reasons – you have friendly regions across the borders in which you can replenish; they lend battle support and will even attempt to expand by taking your enemies’ territory, and, if nothing else, they take the aggro much of the time, acting as a magnet which draws enemies away from your borders. You will also, within a few turns, be able to establish a trade route for more vital income.
The next most important strategic move – and this is absolutely key in my books – is to defend Britain to the death. Many players recommend abandoning Britain, but this is, without a doubt, the worst possible mistake you can make as the WRE for a whole range of reasons. Indeed, far and away the most sensible strategy is to complete the conquest of the British Isles before anything else. Once you have dealt with the Suebians in the first two or three turns, Britain should be your first real military focus.

To subjugate or not to subjugate. Best to knock them off altogether.
Build another army there and, if necessary, send one across before the rest of western Europe declares war and attacks you in Gaul, Belgica etc. Hit the Caledonians first with two or three armies and subjugate them swiftly. They will keep the Picts at bay or take the heat, allowing you the chance to send all two or three armies across to smash the Ebdanians. You can subjugate them, but personally, I’d take the territory to avoid ever having to think about it again. Once you have conquered Ireland, march back across into Scotland, smash the Picts and wipe them out. This will alleviate any worries in that entire region. The Caledonians will defend Britain for you pretty much for the rest of the game, and you will only have to keep a smallish army and navy in Camulodunum. The proximity of the cities in Britain means you can cycle your army between those southern cities to respond to any seaborne threat or plug a disorder gap. You will need to invest in improving civil disorder and a good trick is to make a priest in Rome early and send him all the way across. One priest in Britain, moved about strategically, can take care of the whole islands.

Britain, the way it should be – Roman
The reason Britain is so key to keeping the WRE intact is that it prevents any armies coming down the coast of Gaul while you are busy at the frontier. If Britain falls, for the rest of the game you will have the Ebdanians, Picts and Caledonians sending armies down the west coast of Gaul and into Spain, where you will be forced to keep armies to chase them out. If you stop this happening early, you can get away with keeping no armies in western Gaul whatsoever. It effectively means that there is no frontier in the west, and you have the edge of the map completely secured and protecting your rear, leaving you to focus solely on the Rhine and Danube. Any armies that try to come through that way can be stopped in the English Channel by your fleet in Camulodunum, backed up by your army if necessary. This frees up a huge number of regions that no longer require defending, nor defensive investments. You can keep one army in southern Gaul to take care of Gaul and Spain; quick-marching back and forth to deal with the rebellions that will spring up from public disorder issues. Even if you do lose a region to rebels, they usually just sit there and don’t expand, so can easily be dealt with at a later date. Some, however, will form new factions, and these are best subjugated ASAP as factions which spring up from rebellions are often the most aggressive when it comes to expansion and usually have Roman unit types, which are harder to defeat. If you get the timing right, the entirety of Gaul and Spain can be handled by one army, and all your other armies, with the exception of one in Africa and one in southern Britain (alongside a fleet), can move to the Rhine and Danube. With your initial allocation of 8 armies as a maximum, you will have just enough to stop anything at the border, and just enough to stop any rot spreading inside your borders. More likely, however, you will already be able to field 10 armies by the time you complete the conquest of the British Isles.

It can get messy in the British Isles, but worth persisting with
Another key strategy is to get as many agents as possible. I also ensure that my agents max up their extort, persuade and oppress ability as much as possible, so I can capture enemy agents and use them myself. If you keep this up you can end up with ridiculous amounts of agents, who can seriously hamper enemies, improve income, spot approaching enemies, increase public order and train your troops. You must also pay attention to the management of your faction. On this score, try to keep your faction strong through marriages and adoptions. It’s also a good idea to get your emperor into the field to increase his influence. This is not only key to maintaining a strong empire, but is a fun way to re-shape history. Who would ever have imagined the emperor Honorius weathering the tide of invasion in the west, overseeing a re-strengthening of the Empire, and then campaigning to recover Egypt from the hands of Ethiopian separatists after the collapse of East Roman power in those provinces?

Roman reconquest well underway.
The emperor, however, can also be a serious liability. If he develops cruel traits, such as Tyrant, Torturer etc, which cause public order penalties across all regions, sometimes the only thing to do is to get him killed in battle. This needs to be carefully managed, so a whole army isn’t routed, but just wait until the tide is turning in your favour and send him in suicidally while everyone else hangs back. It kinda sucks having to do this – and you must ensure you choose a good heir beforehand – but it can completely transform your fortunes in the game, particularly with public order.
On the subject of public order, you will have to learn to live with rebellion. It will be almost impossible to stop it altogether, and every so often, rebels will spring up and you will have to deal with them. The good thing is that the way disorder works, once a rebel army appears, you can a positive +20 bonus to public order every turn, which represents all the malcontents heading off to join the rebellion, leaving the happy people in the cities. Thus, in effect, the rebel army becomes the manifestation of the unhappiness. Often it can be beneficial to let the army grow for two or even three turns, and sometimes you will have no choice but to do this. This means that when you do wipe them out, you will be left with a much better public order situation, which will buy you enough time to hang on for the next rebellion, or find some other means of improving order. Be warned, however, rebel armies grow by four units a turn, and a twelve unit army might well be enough to sack and capture a city. Most garrisons, even of just 4 units, should be able to hold out anything of 8-strength and under – you just need to turtle up and let them commit suicide against your spearmen and in trying to capture and destroy your arrow towers.

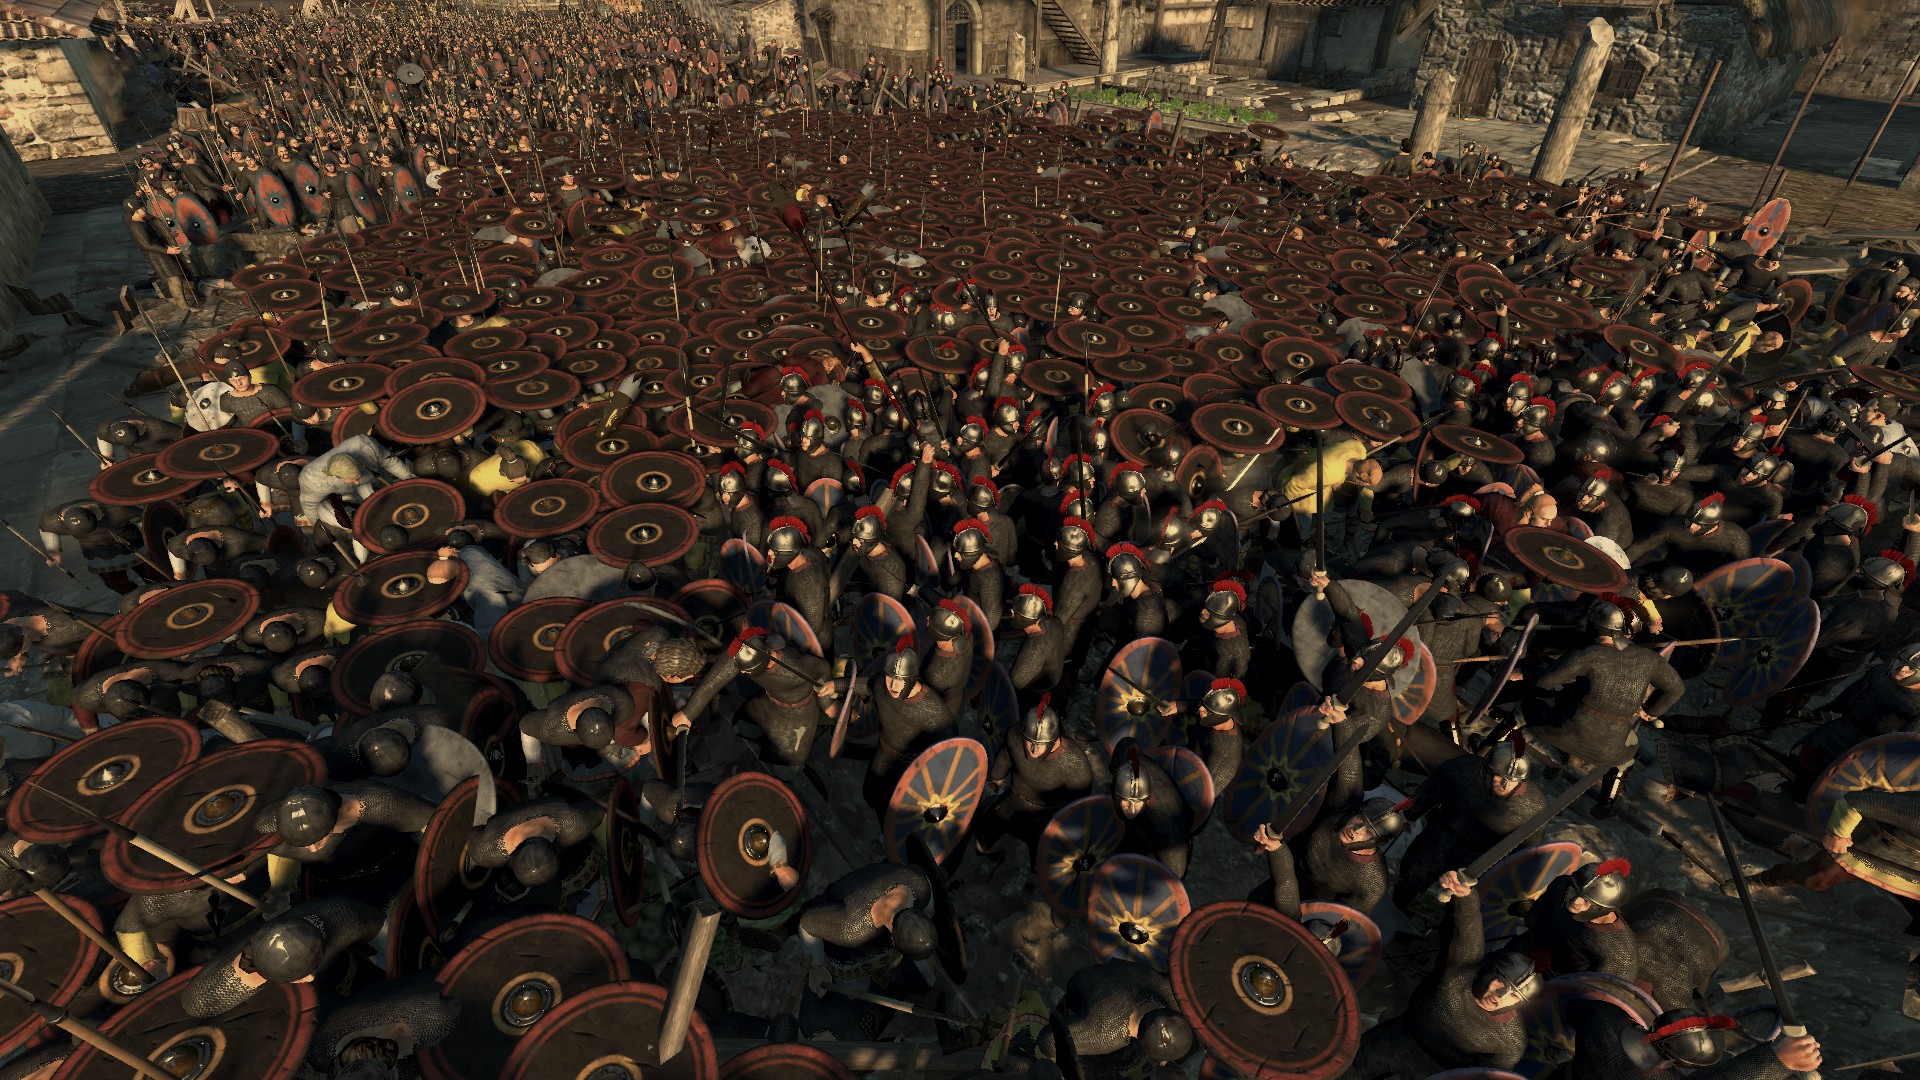
We should struggle together! We are struggling together!
Strategically, the biggest unknown is Africa, which can go a number of ways. It all hinges on whether or not the Gaetulians, Garamantians or Maurians declare war. This seems to be a huge variable. I’ve had one of them declare war as early as the third turn and as late as some time after AD 420. It might be worthwhile trying to get away with just keeping one army in northern Spain to take care of rebellions, and hope that, should an emergency arise, you can get down there quickly enough to offer relief. I’ve run it this way successfully in the past, though you may have to pull off some pretty epic garrison defence battles and hope, in the case of a defeat, that they only sack you, thus allowing time to get an army down there to overcome them. The African factions are usually relatively easy to defeat as their units are not quite up to the same standard.

Hot and dry in the summer

A peaceful moment
Another possible strategy is to build an army early on in Africa and eliminate or subjugate these factions successively. If you’re a good enough general, one twenty-stack army should suffice to subdue the whole region. Judicious use of spies to delay or stop armies over successive turns can allow you to wipe them out in the field, then hit their capitals. Subjugation can eliminate the need for keeping any armies in the region at all, thus turning the presence of these factions into a defensive bonus. I find that at some point in the game they will almost certainly need to be dealt with militarily – exactly when, however, is pretty open. Of course, the longer you avoid war with them altogether is likely better. The Rhine, Danube border and Britain are the real front line initially and having one less army in the north is a significant enough disadvantage to be worth avoiding.

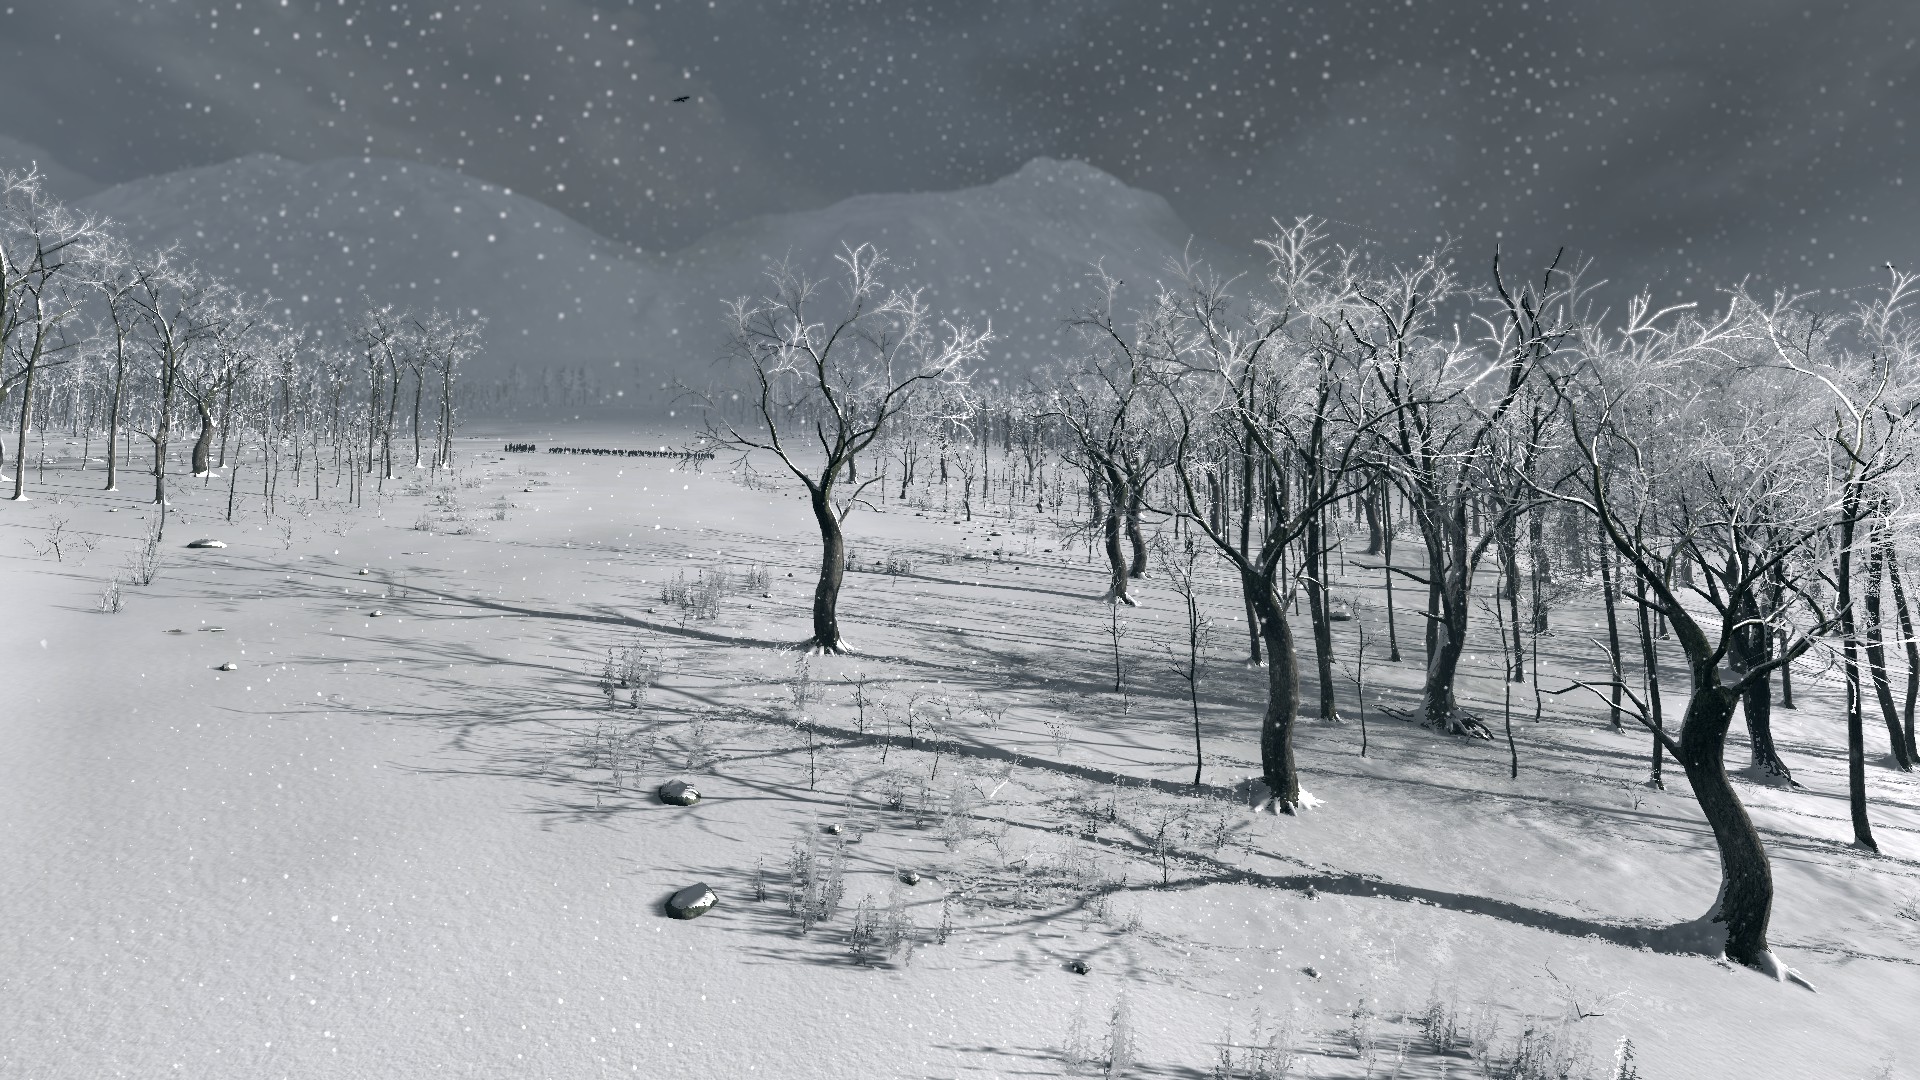
Winter trees
It will be a long hard road, frustrating and at times tedious, but such a strategy should get you over the line. Save at the start of every turn in case of disasters and be patient. Eventually, though it will seem like an eternity, you will bring order and stability to the western empire and be able to keep just a couple of armies on the Rhine frontier, and shift pretty well everyone else to the east, along the Danube. If you let Pannonia go, which is the one region I’d consider sacrificing, you will now be well placed to take it back. You will need a lot of armies to fight the Huns. Most armies will lose against them in a one-on-one because of the morale penalties the Romans suffer against the Huns, and also because the Hunnic units are hugely overpowered. Try to outnumber them always, or fight defensive battles, using towns or forts where possible.

Always take artillery to attack a fort. Switch off auto-fire and target the towers. Wait till it all burns down, then attack.


When Attila is defeated and finally killed, you have, in effect, won the game. Yet this is by no means the end and I rather love this later phase of the game. Without one monster enemy, it feels more like a traditional Total War game. There isn’t much left to do after this except perhaps recolonise the devastated regions or attempt to rescue the Eastern Empire.

Rebuilding in the East

The war never ends. More great battles await with the passing of Attila.
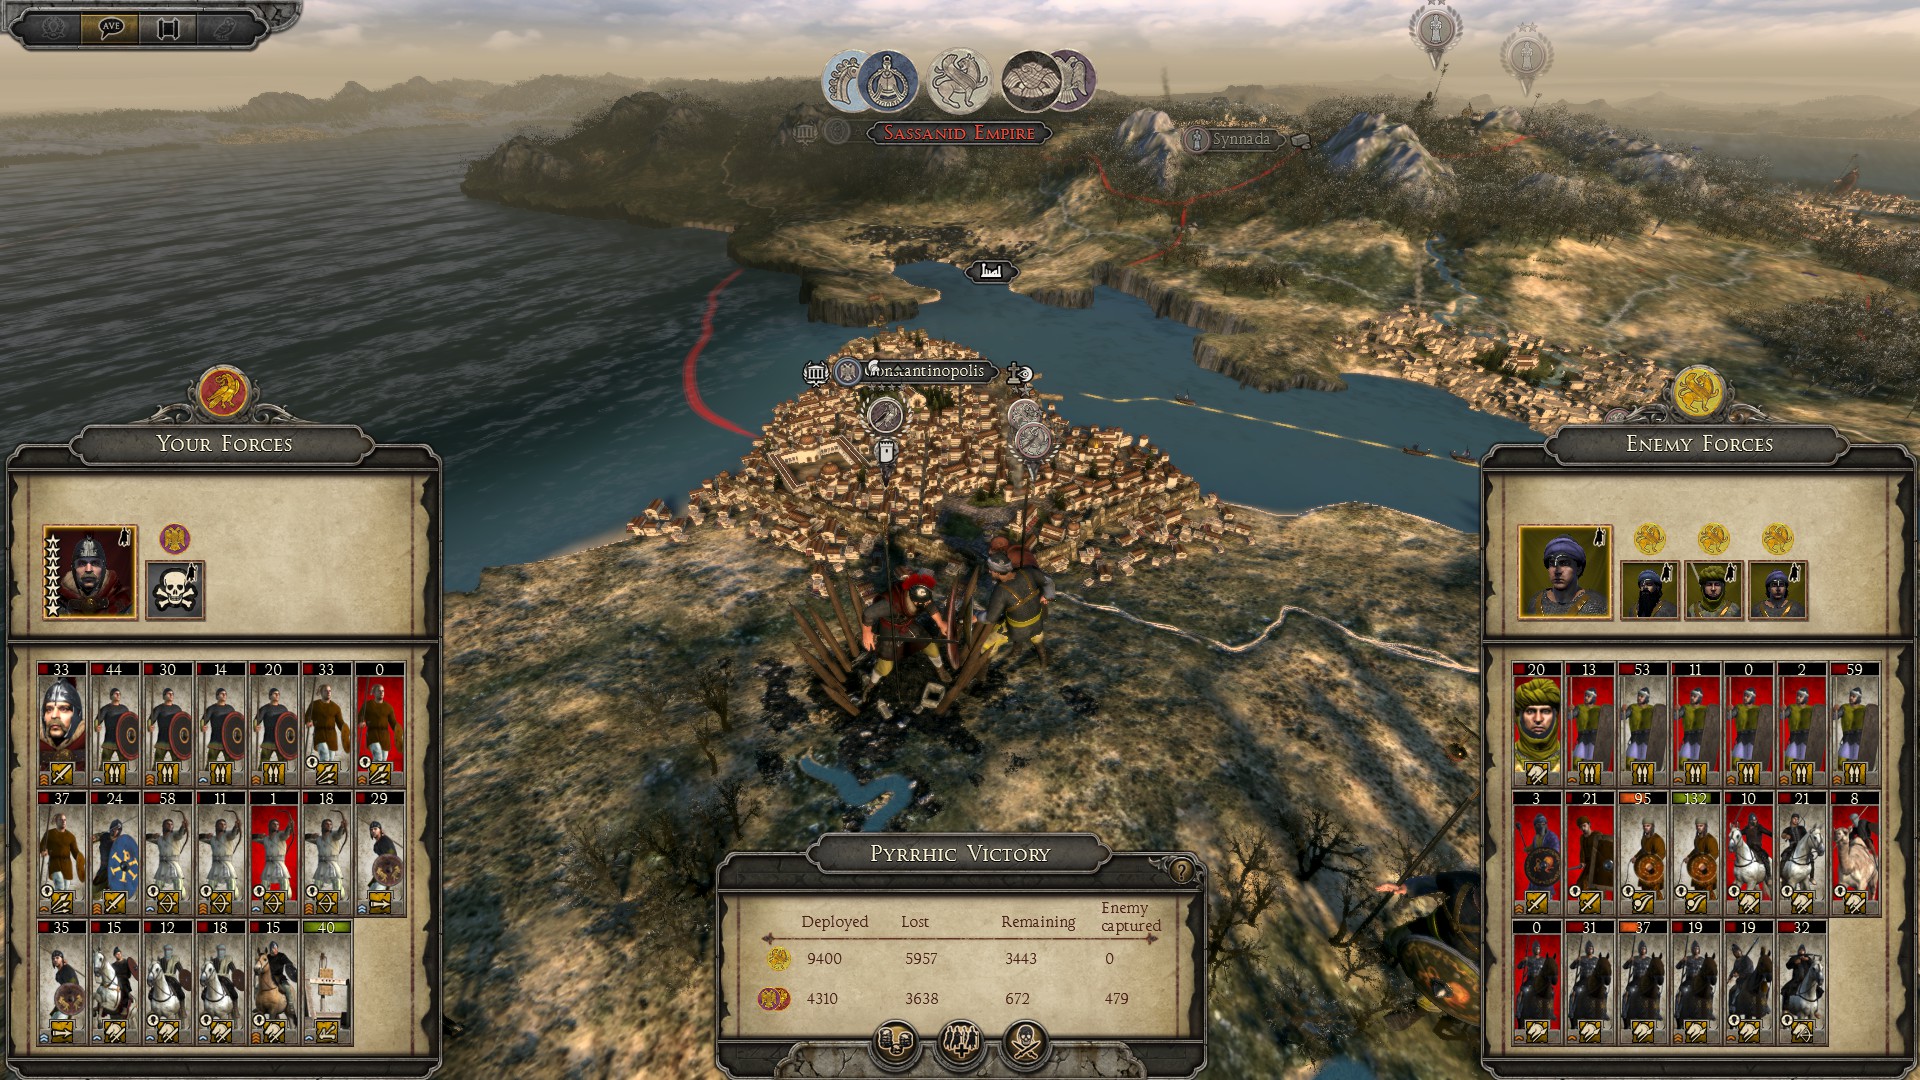
Taking on the Sassanids and reasserting Roman hegemony in the east can be a lot of fun, strategically, and it feels like a more even fight. I’ve made it as far as about 460 in one game, and in truth, I’m not sure how much further it is possible to go. I always imagined that if an end date were set, it would be 476 – the year in which the last Western Emperor was deposed. But, for all I know, it continues even beyond that. I’ve never given much of a stuff about the victory conditions, but prefer to focus instead on my own martial ambitions. By this late stage of the game, it’s really up to your own sense of whimsy as to how long you stick with it. If, however, you follow the advice I’ve given above, you should at least make it this far.


You must be logged in to post a comment.